Recycled Cardboard Box Shelves
Step-by-step on how to make recycled shelves by recycling cardboard boxes, presented by: Crafty Corner
For any questions contact us via email
This is a fantastic way to create something useful, get rid of clutter and save the environment by recycling all in one go! All you need is a few old cardboard boxes to make some very useful shelving.
What you need to make recycled cardboard box shelves:
- About 9 or 10 boxes 10cm X 10cm
- Box tape
- Craft knife or scissors
Read through all the instructions first before starting this recycling craft.
Step 1
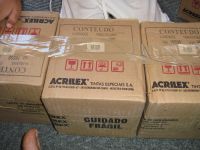
Choose boxes that are nice and firm and that are not damaged, bent or have been squashed in some way. Damage to the boxes will cause the shelf to lose stability when built.

Step 2
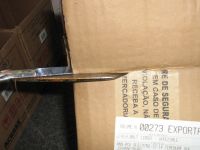
Take the boxes you want to recycle, make sure that the one side is securely sealed. Also make sure that the boxes are the same size for ease of securing together.
Step 3
With your craft knife or scissors, carefully cut off the flaps on the open side of the box. You can then tape these edges if you wish to give it a more finished look. It is a good idea to keep these cut off pieces as we will use them later in other projects for kids.
Step 4
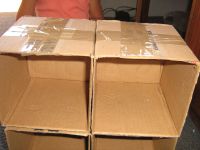
Place 3 (three) boxes together on your work surface and using the box tape secure them together. Do this first by putting the tape all the way around the sides and then strengthen by taping them across the back. Try to get someone to hold the recycled boxes firmly together as this will make it much easier process and a more stable finish.
Step 5
Now you have created one row, about 3 boxes. Repeat this process until you have at least 3 rows assembled.
Step 6
Now you take two of your completed rows and place them together and secure with the box tape. By securing them in this way you will make the recycled shelf more stable as it is secured multiple times.
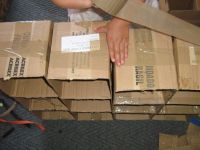
Step 7
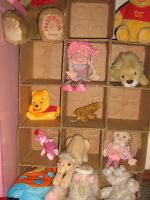
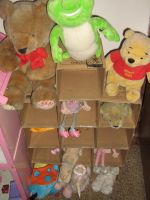
Finally take all the sets and secure them together. Now you have a recycled box shelf that can be used to store small things like teddy bears and other small articles. As an addition to this project you can take some neutral acrylic paint and paint the boxes to match the room, or even give it to the kids to paint or decoupage.